
Homemade Liangpi & Wheat Gluten
凉皮&面筋
English: Homemade Liangpi & Wheat Gluten
Chinese: 凉皮 & 面筋
Pinyin: liang pi & mian jin
Literal: Cold skin and gluten
Making mianpi (also known as liangpi) and wheat gluten is not a simple process. It takes time, patience, a little practice, and the understanding that it’s not easy to get right. The first time I attempted this recipe, my wheat gluten didn’t rise, the second time, my noodles with doughy and sticky. But even when it fails, I love the process of this recipe. Working with dough always feels like an adventure into alchemy, taking raw flour and transforming it food is one of the best skills humans possess.
With this recipe, it takes about twenty minutes or so of washing a dough for the transformation to begin. The water turns cloudy with starch, while the dough shrinks into a strange and rubbery mass of pure gluten. Left to settle overnight, the cloudy liquid separates and the pure white starch sinks to the bottom. This will later become the mianpi.
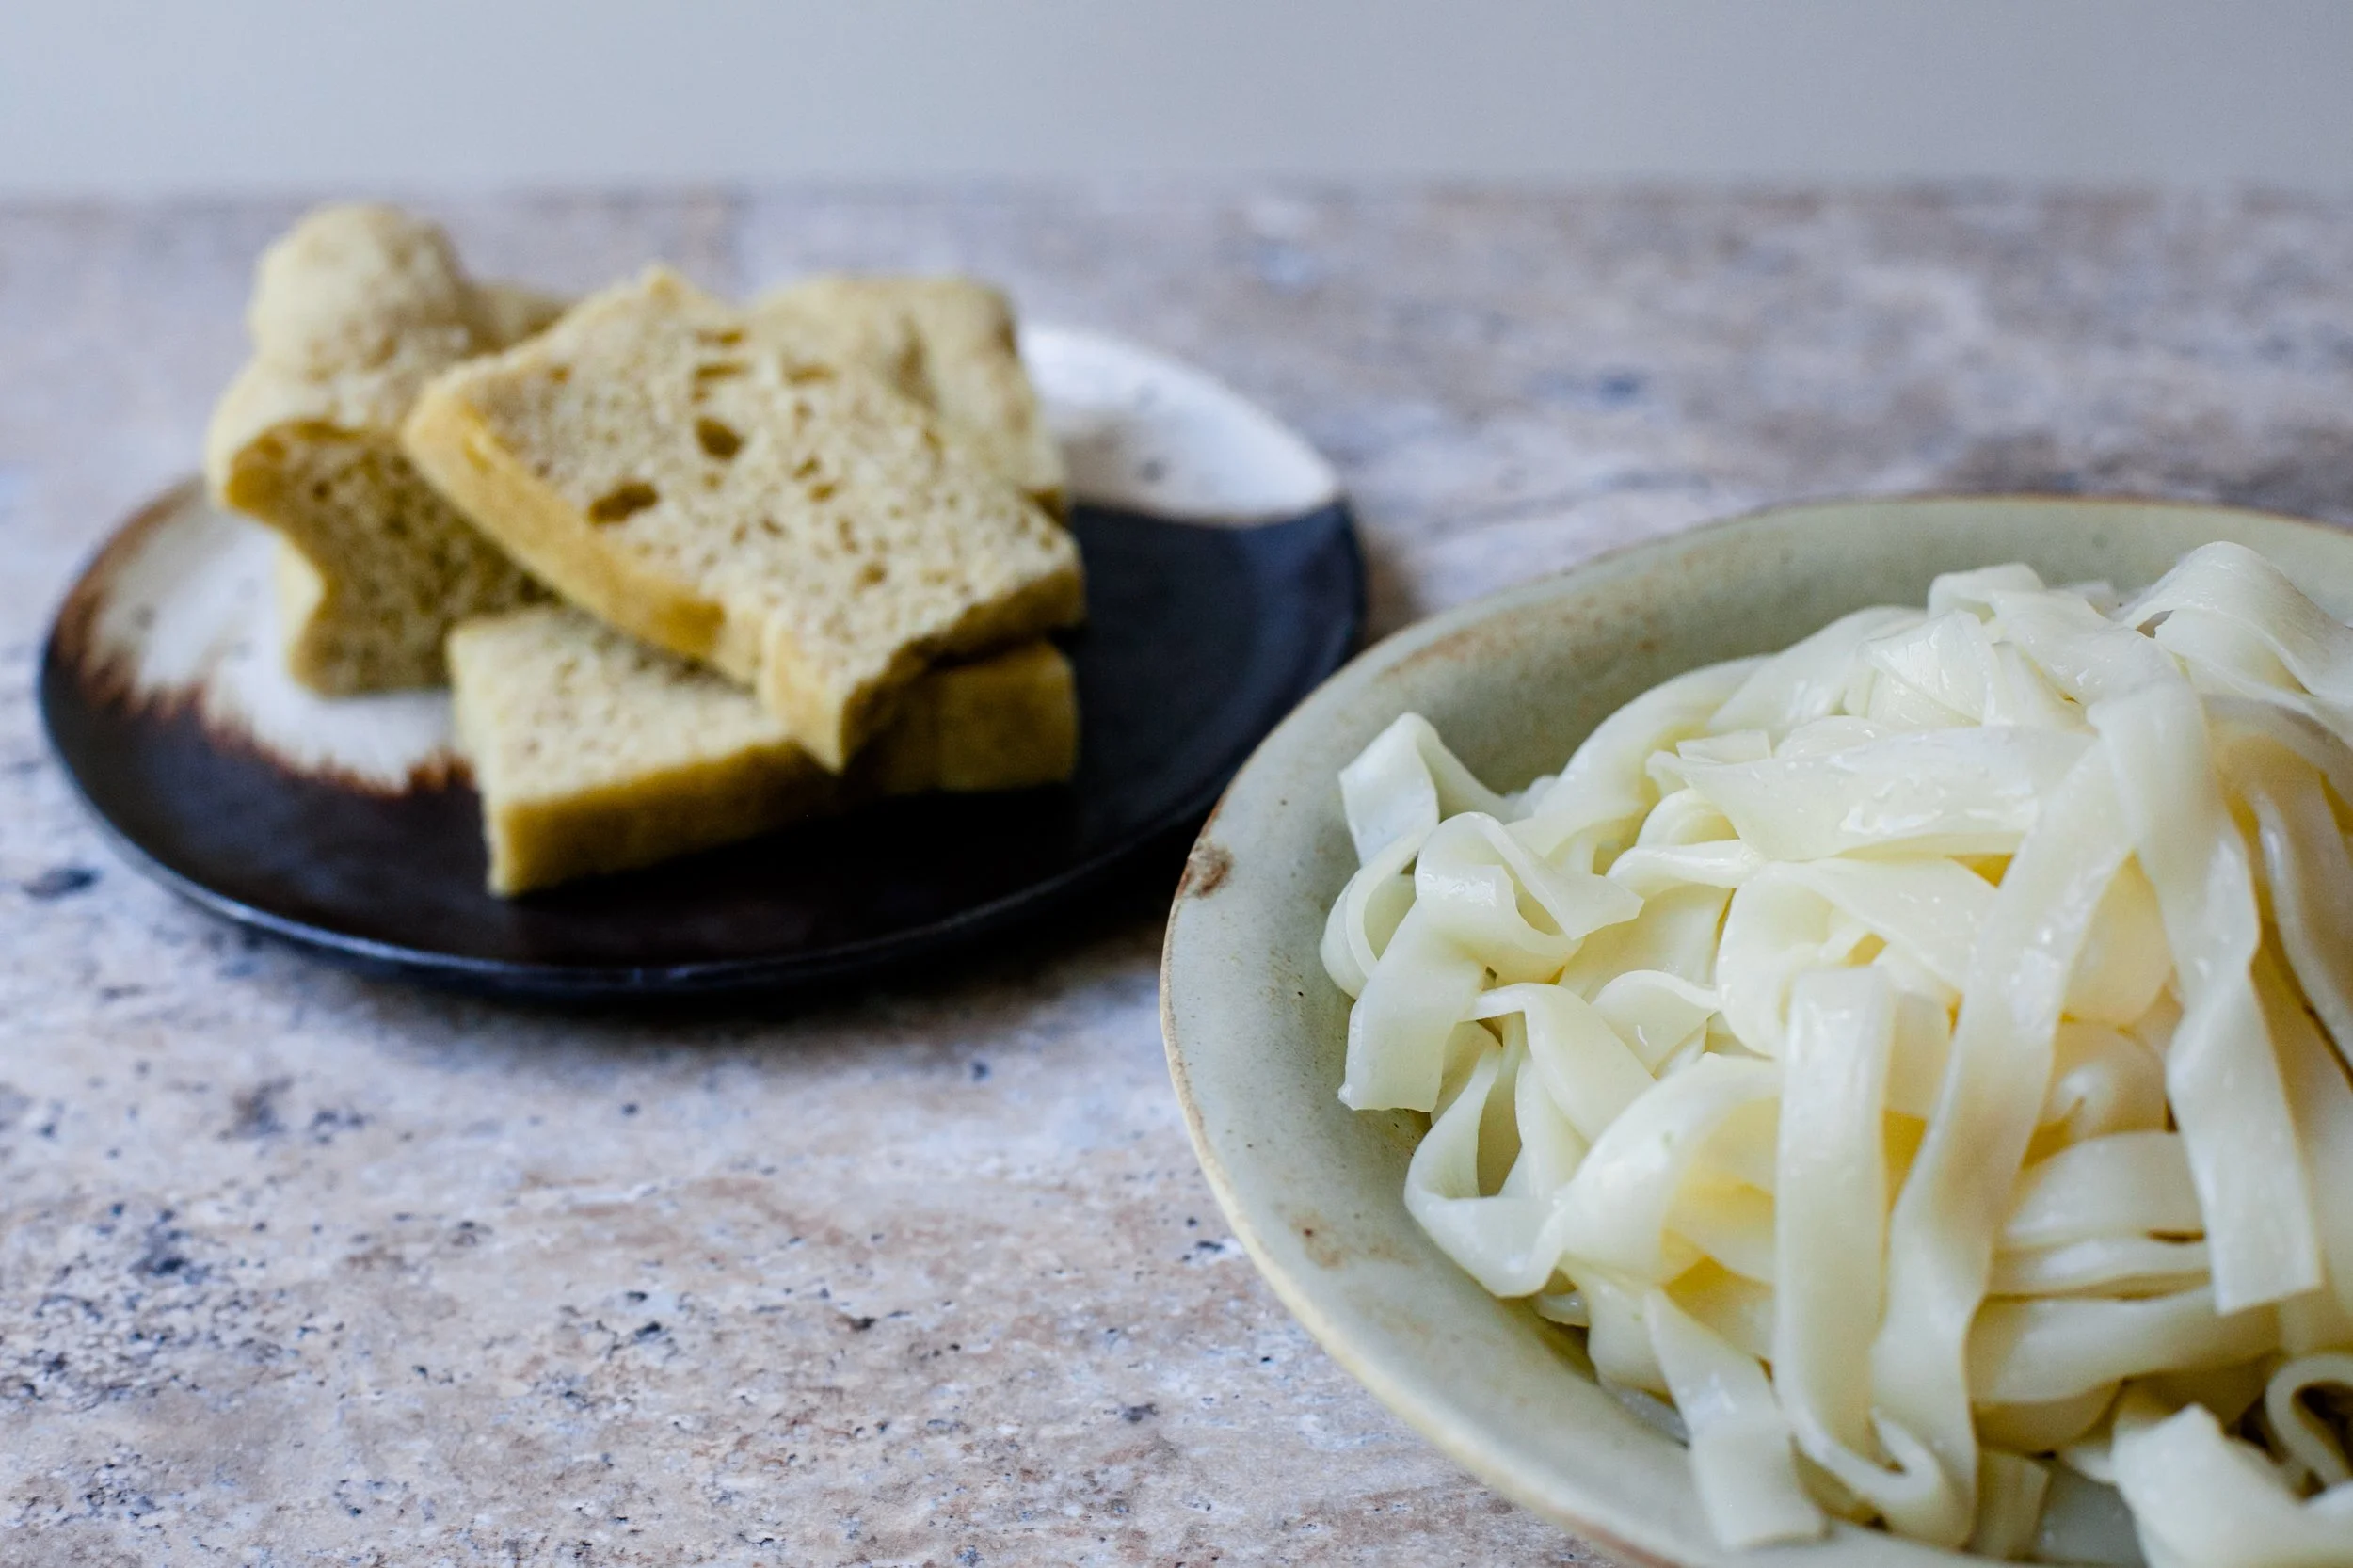
From a single dough, two completely different foods emerge. The starch is steamed into smooth, slippery sheets that are cut into noodles, while the gluten puffs up into a spongy, chewy accompaniment. One becomes glossy, pale and silky; the other dense, springy and beige. It is more than the transformation of dough into bread - it is the separation of one ingredient into two distinct textures.
Of course, in most Chinese cities it is far quicker and easier to visit a liangpi stall than to make it yourself. But having gone through the process a few times, I’ve developed a new appreciation for a dish often treated as simple summer street food. Behind every bowl lies a labour-intensive technique that turns the humblest ingredients into something remarkable, as is so often the case with Northern Chinese cooking.
Ingredients
500g bread flour or strong plain flour
5g salt
260-280g water
Method
See below for step-by-step pictures.
Step 1: Make the Dough
Combine the flour and salt in a large bowl. Gradually add the water and mix until a shaggy dough forms. The dough will seem quite dry at first.
Knead for 8–10 minutes until smooth and no longer sticky to the touch.
Cover and leave to rest for 30 minutes.
Step 2: Wash the Dough
Place the dough in a large bowl and cover with cold water. Gently squeeze, stretch and massage the dough. Be careful not to knead or tear it too aggressively, as you want to preserve the developing gluten.
The water will quickly become milky as starch is released. Pour this starchy water into a second large bowl or container. Do not discard it.
Add fresh water to the dough and repeat the process.
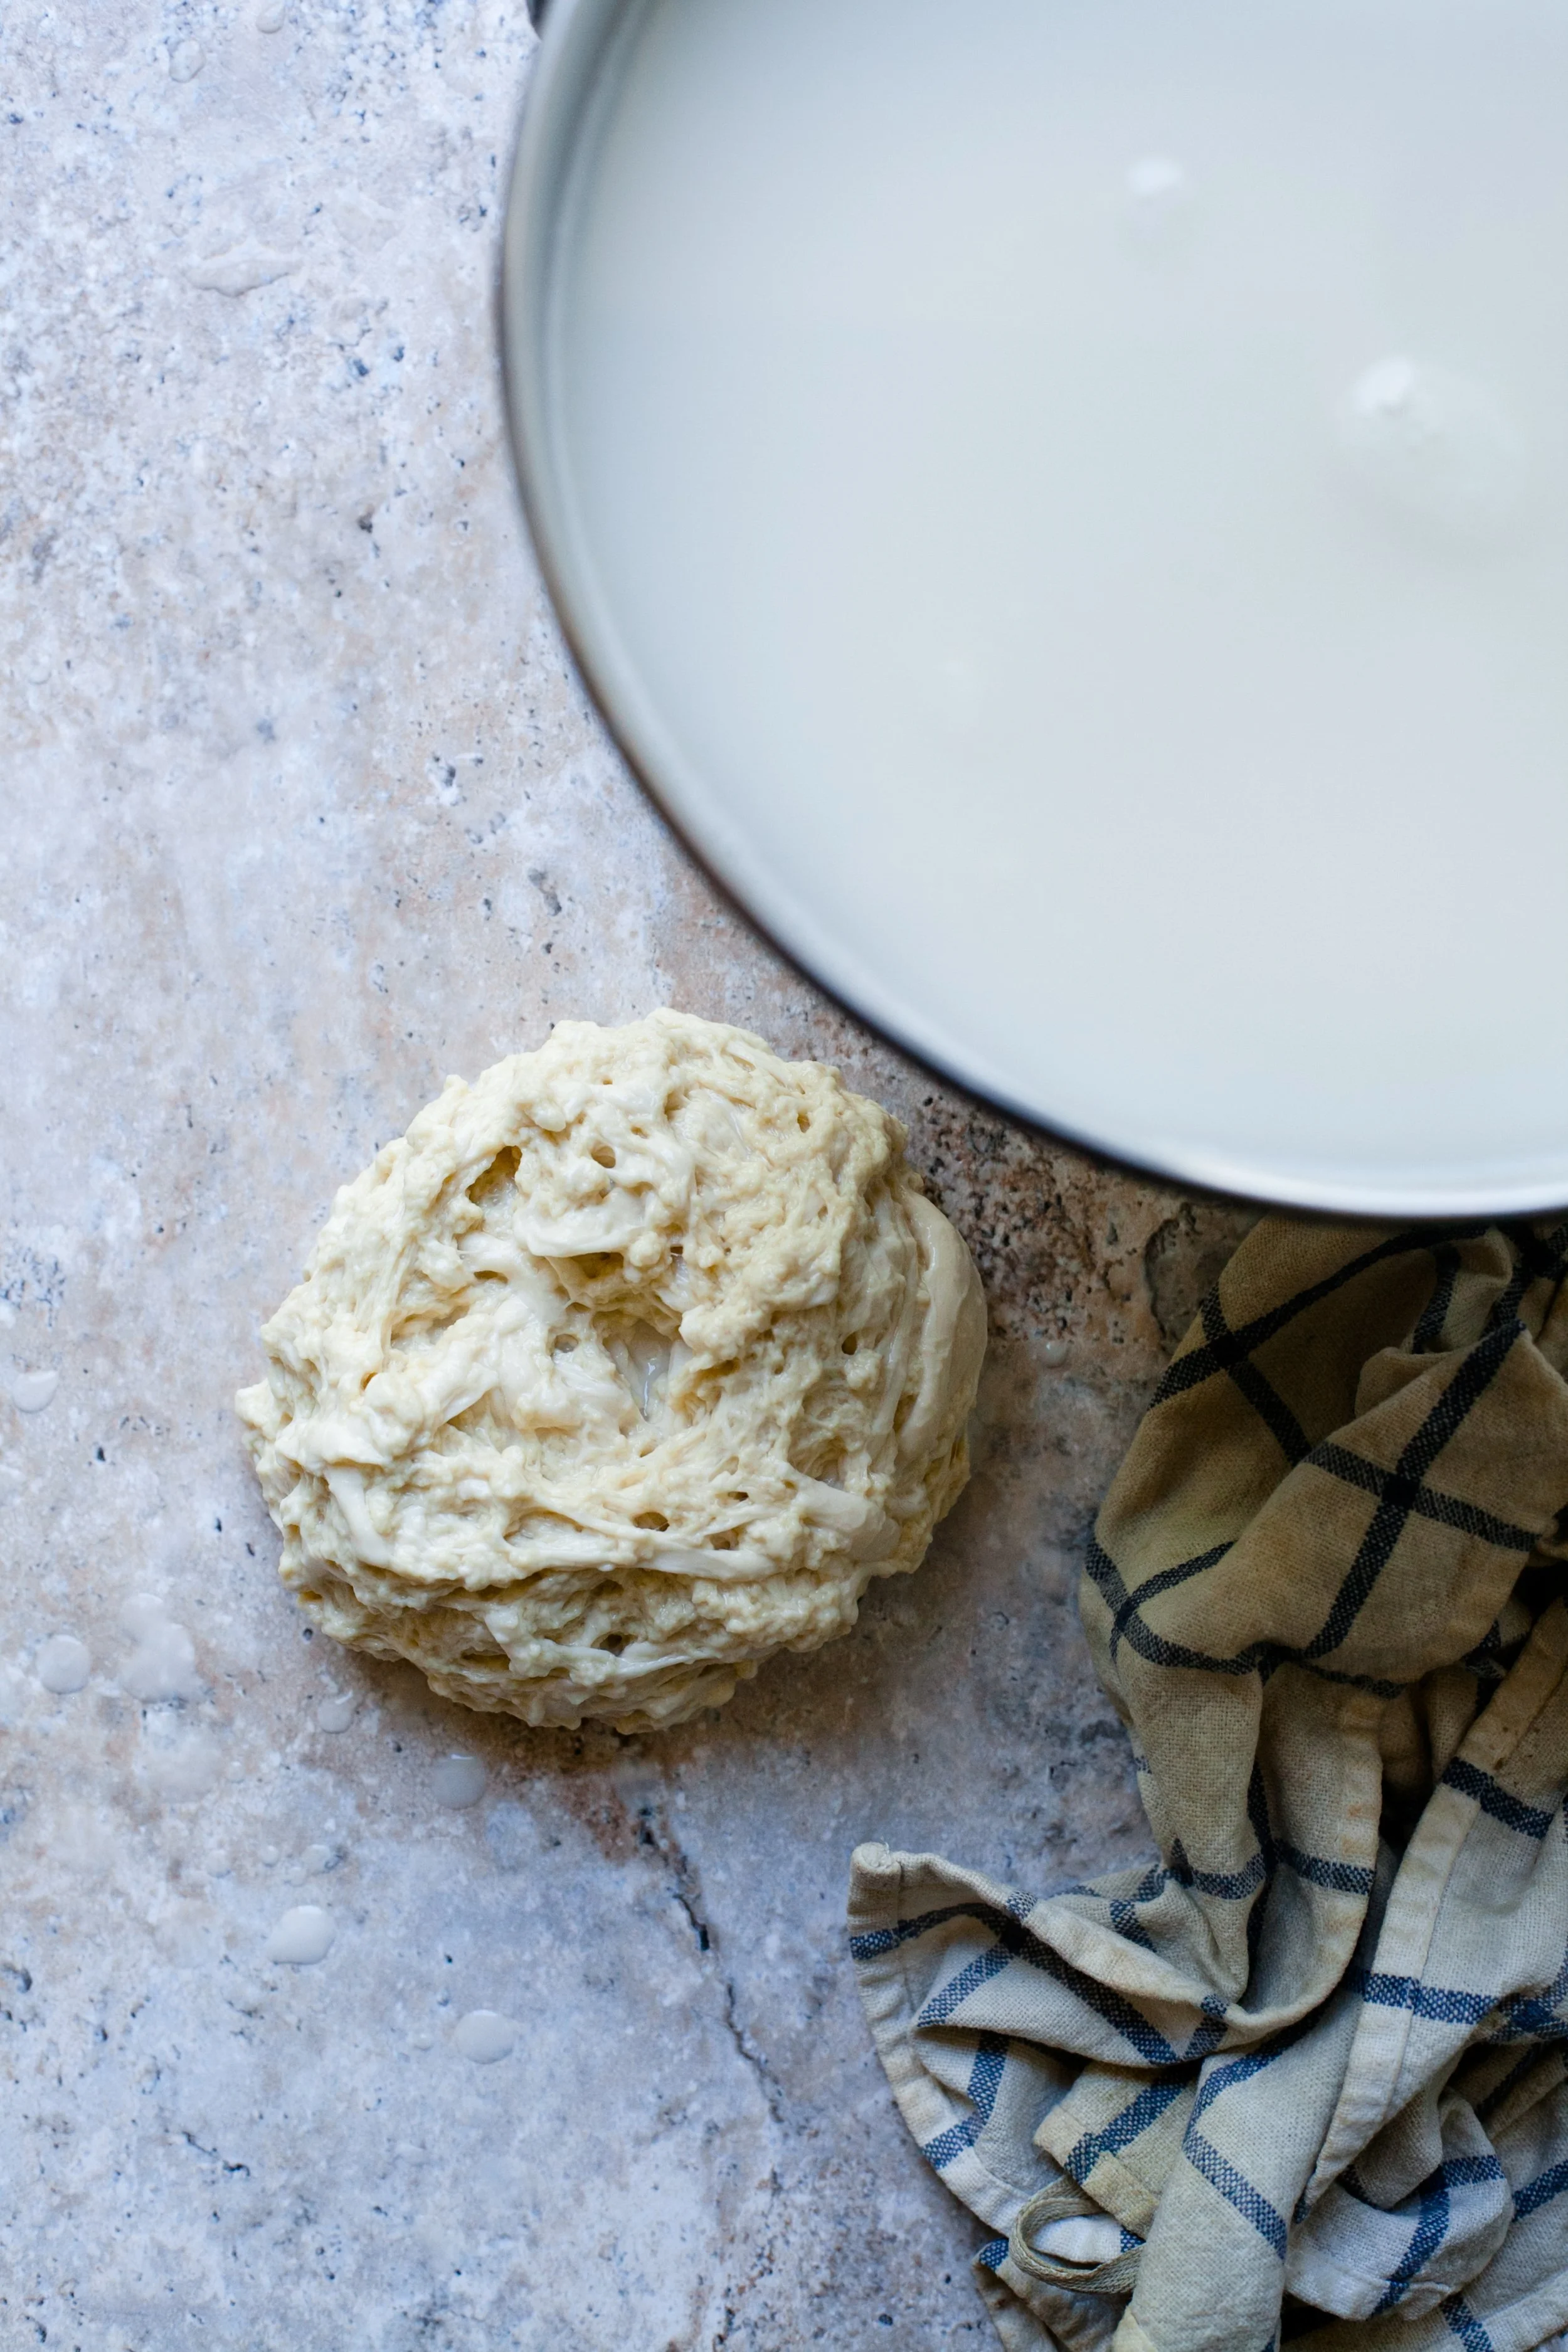
Continue washing until the water remains mostly clear and the dough has transformed into a soft, spongy, yellowish mass of gluten. Depending on the flour, this may take anywhere from 5 to 15 washes.
By the end, you should have one bowl containing the starchy water and another containing the raw gluten.
Step 3: Steam the Gluten
Shape the gluten into a loose square or round and place it on a heatproof plate.
Steam over boiling water for 20–30 minutes. The gluten should puff up slightly and become springy and firm.
Allow it to cool completely, then cut into bite-sized cubes.
Step 4: Settle the Starch
Leave the starchy water undisturbed for at least 4 hours, preferably overnight in the refrigerator. The starch will settle to the bottom of the bowl.
Carefully pour off the clear water from the top, leaving the settled starch behind.
Stir the starch until smooth, scraping up any sediment from the bottom of the bowl.
The consistency should resemble thin cream or a loose pancake batter. If necessary, add a little water. If the slurry is too thick, the finished liangpi can become dense and doughy rather than smooth and slippery.
Step 5: Steam the Liangpi Sheets
Find the largest rimmed plate or tray that fits inside your steamer. A cake tin or pie dish works well.
Lightly oil the tray. Stir the starch slurry again, then pour in enough to create a thin layer about 1–2mm thick.
Steam over boiling water for 2–3 minutes. The sheet is ready when it becomes translucent and small bubbles appear on the surface.
Remove the tray and immediately place it over cold water to cool.
Carefully peel off the sheet and brush lightly with oil to prevent sticking.
Repeat with the remaining slurry, stirring it before each batch as the starch settles quickly.
Stack the finished sheets, brushing each lightly with oil.
Step 6: Cut the Liangpi
Stack several sheets together and cut into strips approximately 1–2cm wide. The exact width is largely a matter of personal preference.
Notes
A few tips from my own failures.
Keep washing the gluten until the water is mostly clear. If too much starch remains in the gluten, it won’t rise and will taste very doughy after steaming.
Once you’ve poured off the water from the starch, you’ll be left with a slurry in the bottom of the bowl. You’ll need to scrape it up from the bottom and then add a bit of water back in. If the mixture is too thick, the noodles will taste doughy and chalky.
Before cutting the noodles, let them cool, and then wipe the knife with oil so that it doesn’t stick and tear them.
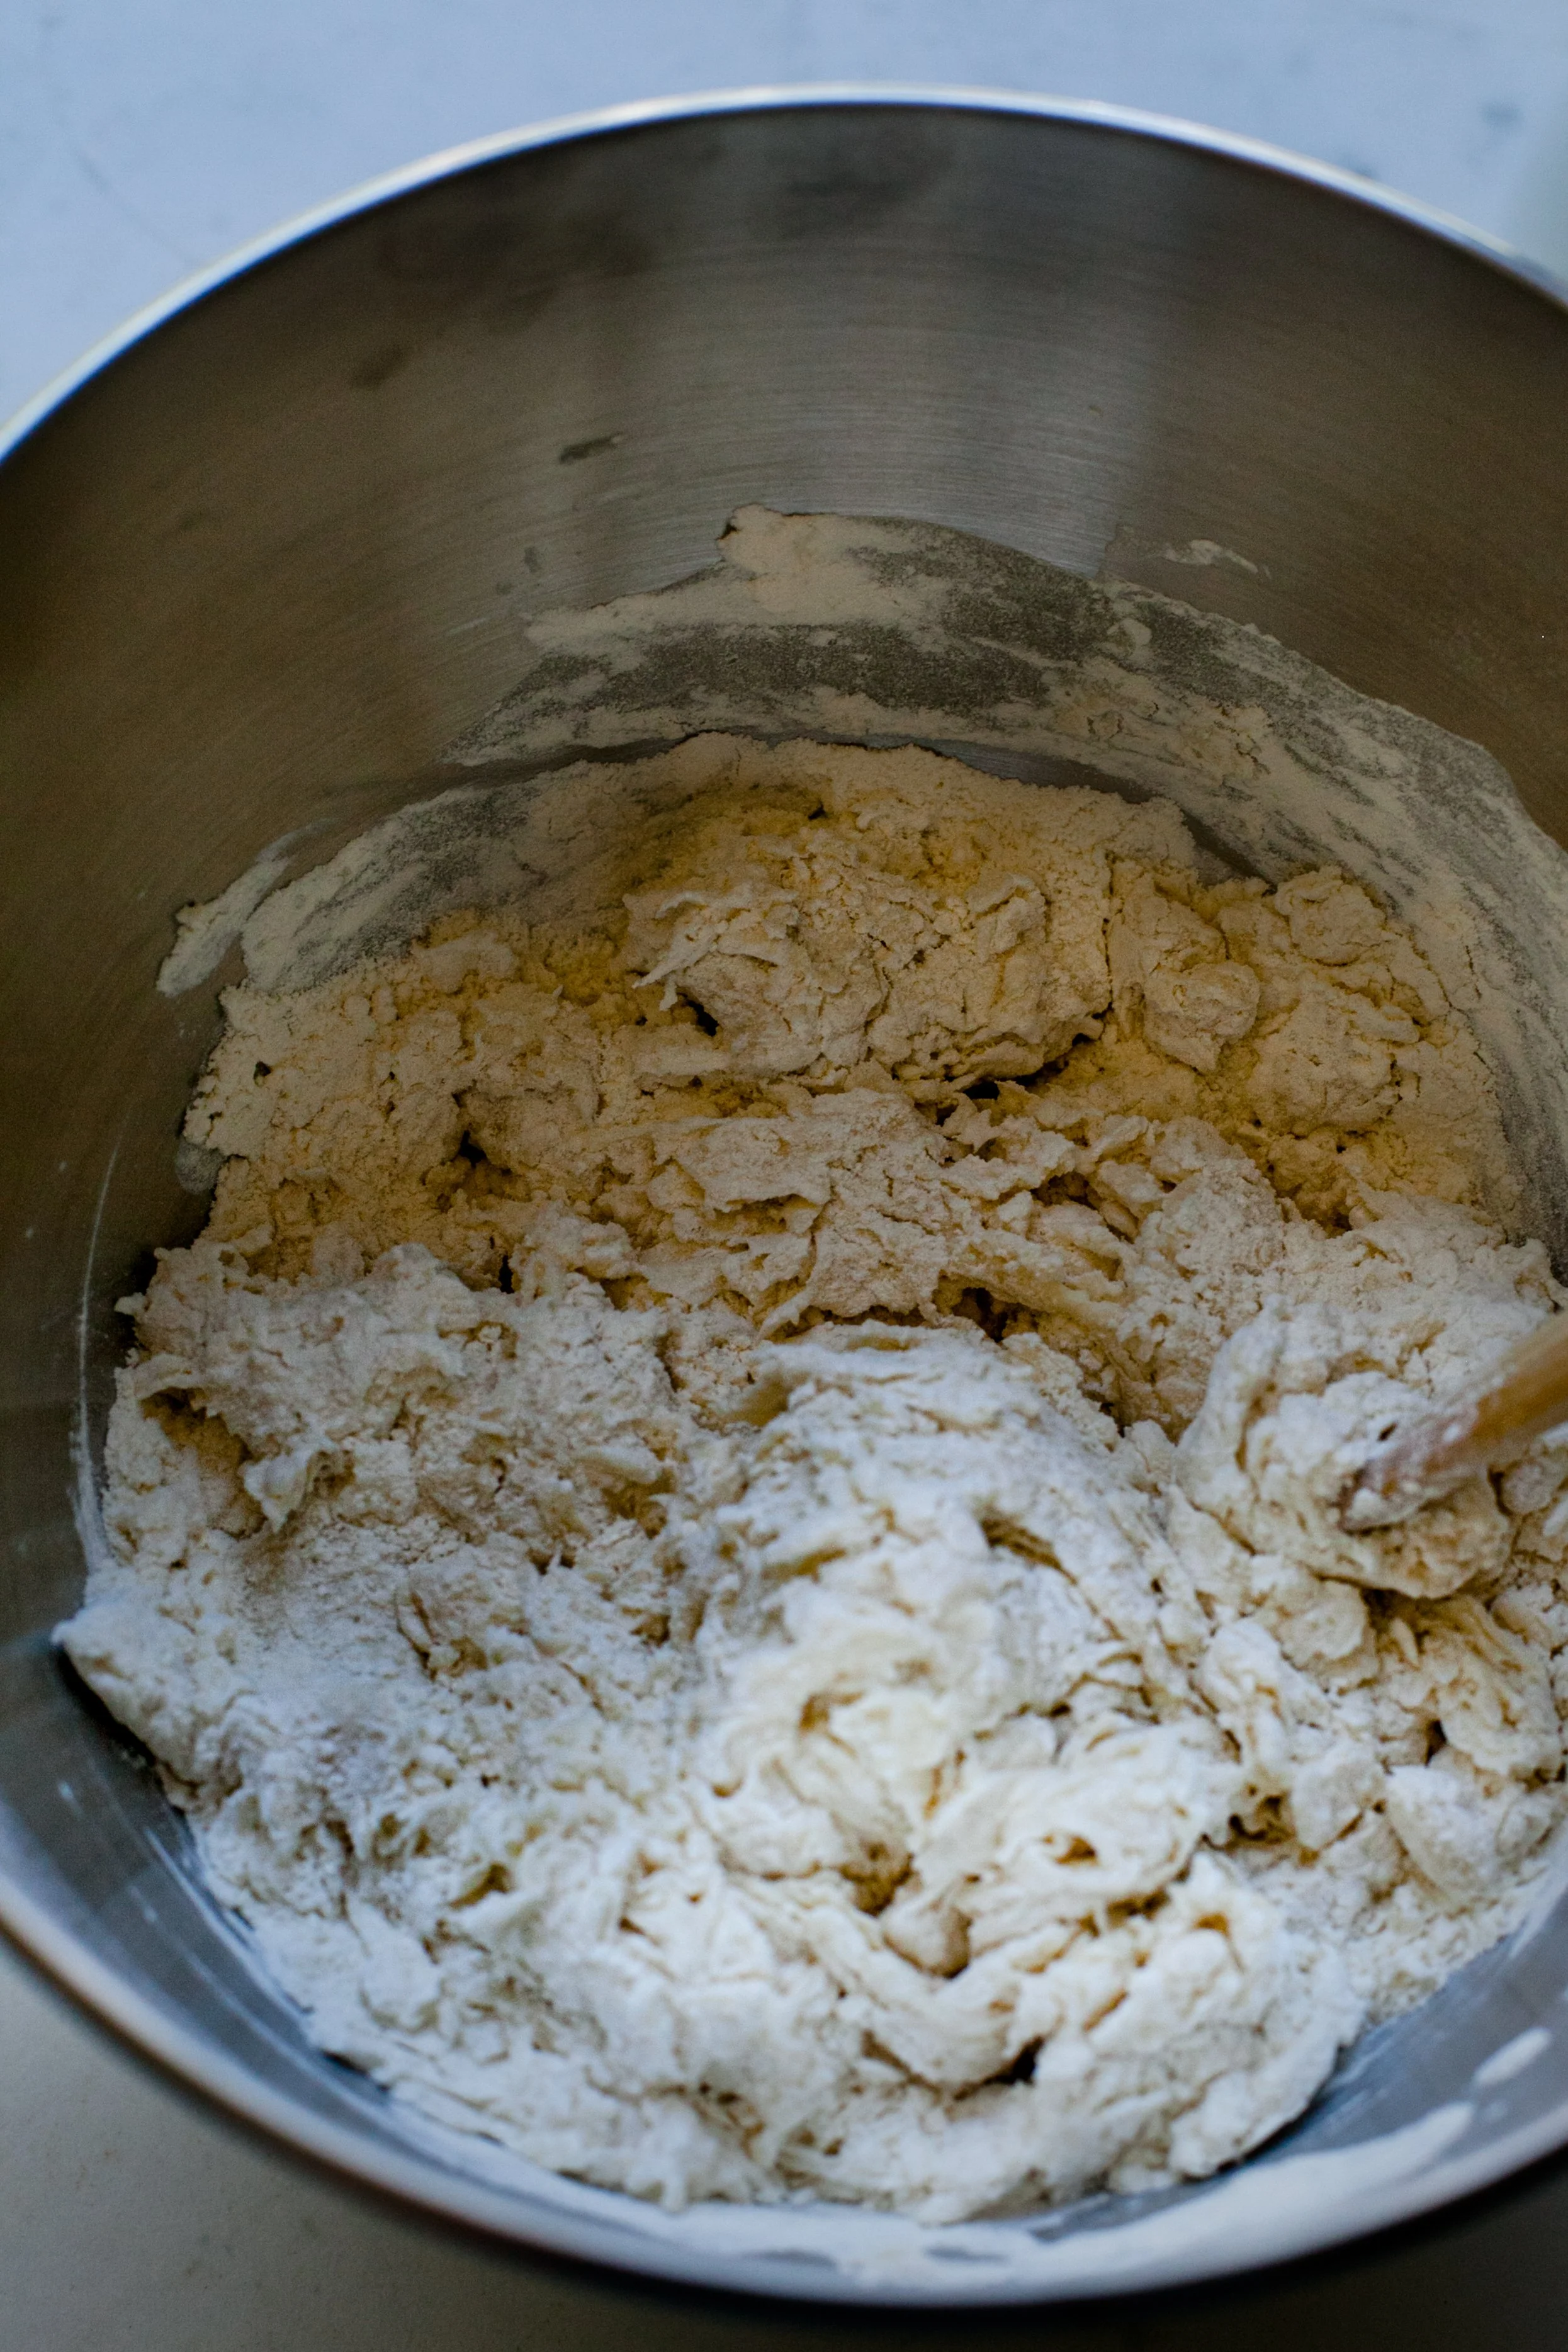
1. Make a dry dough
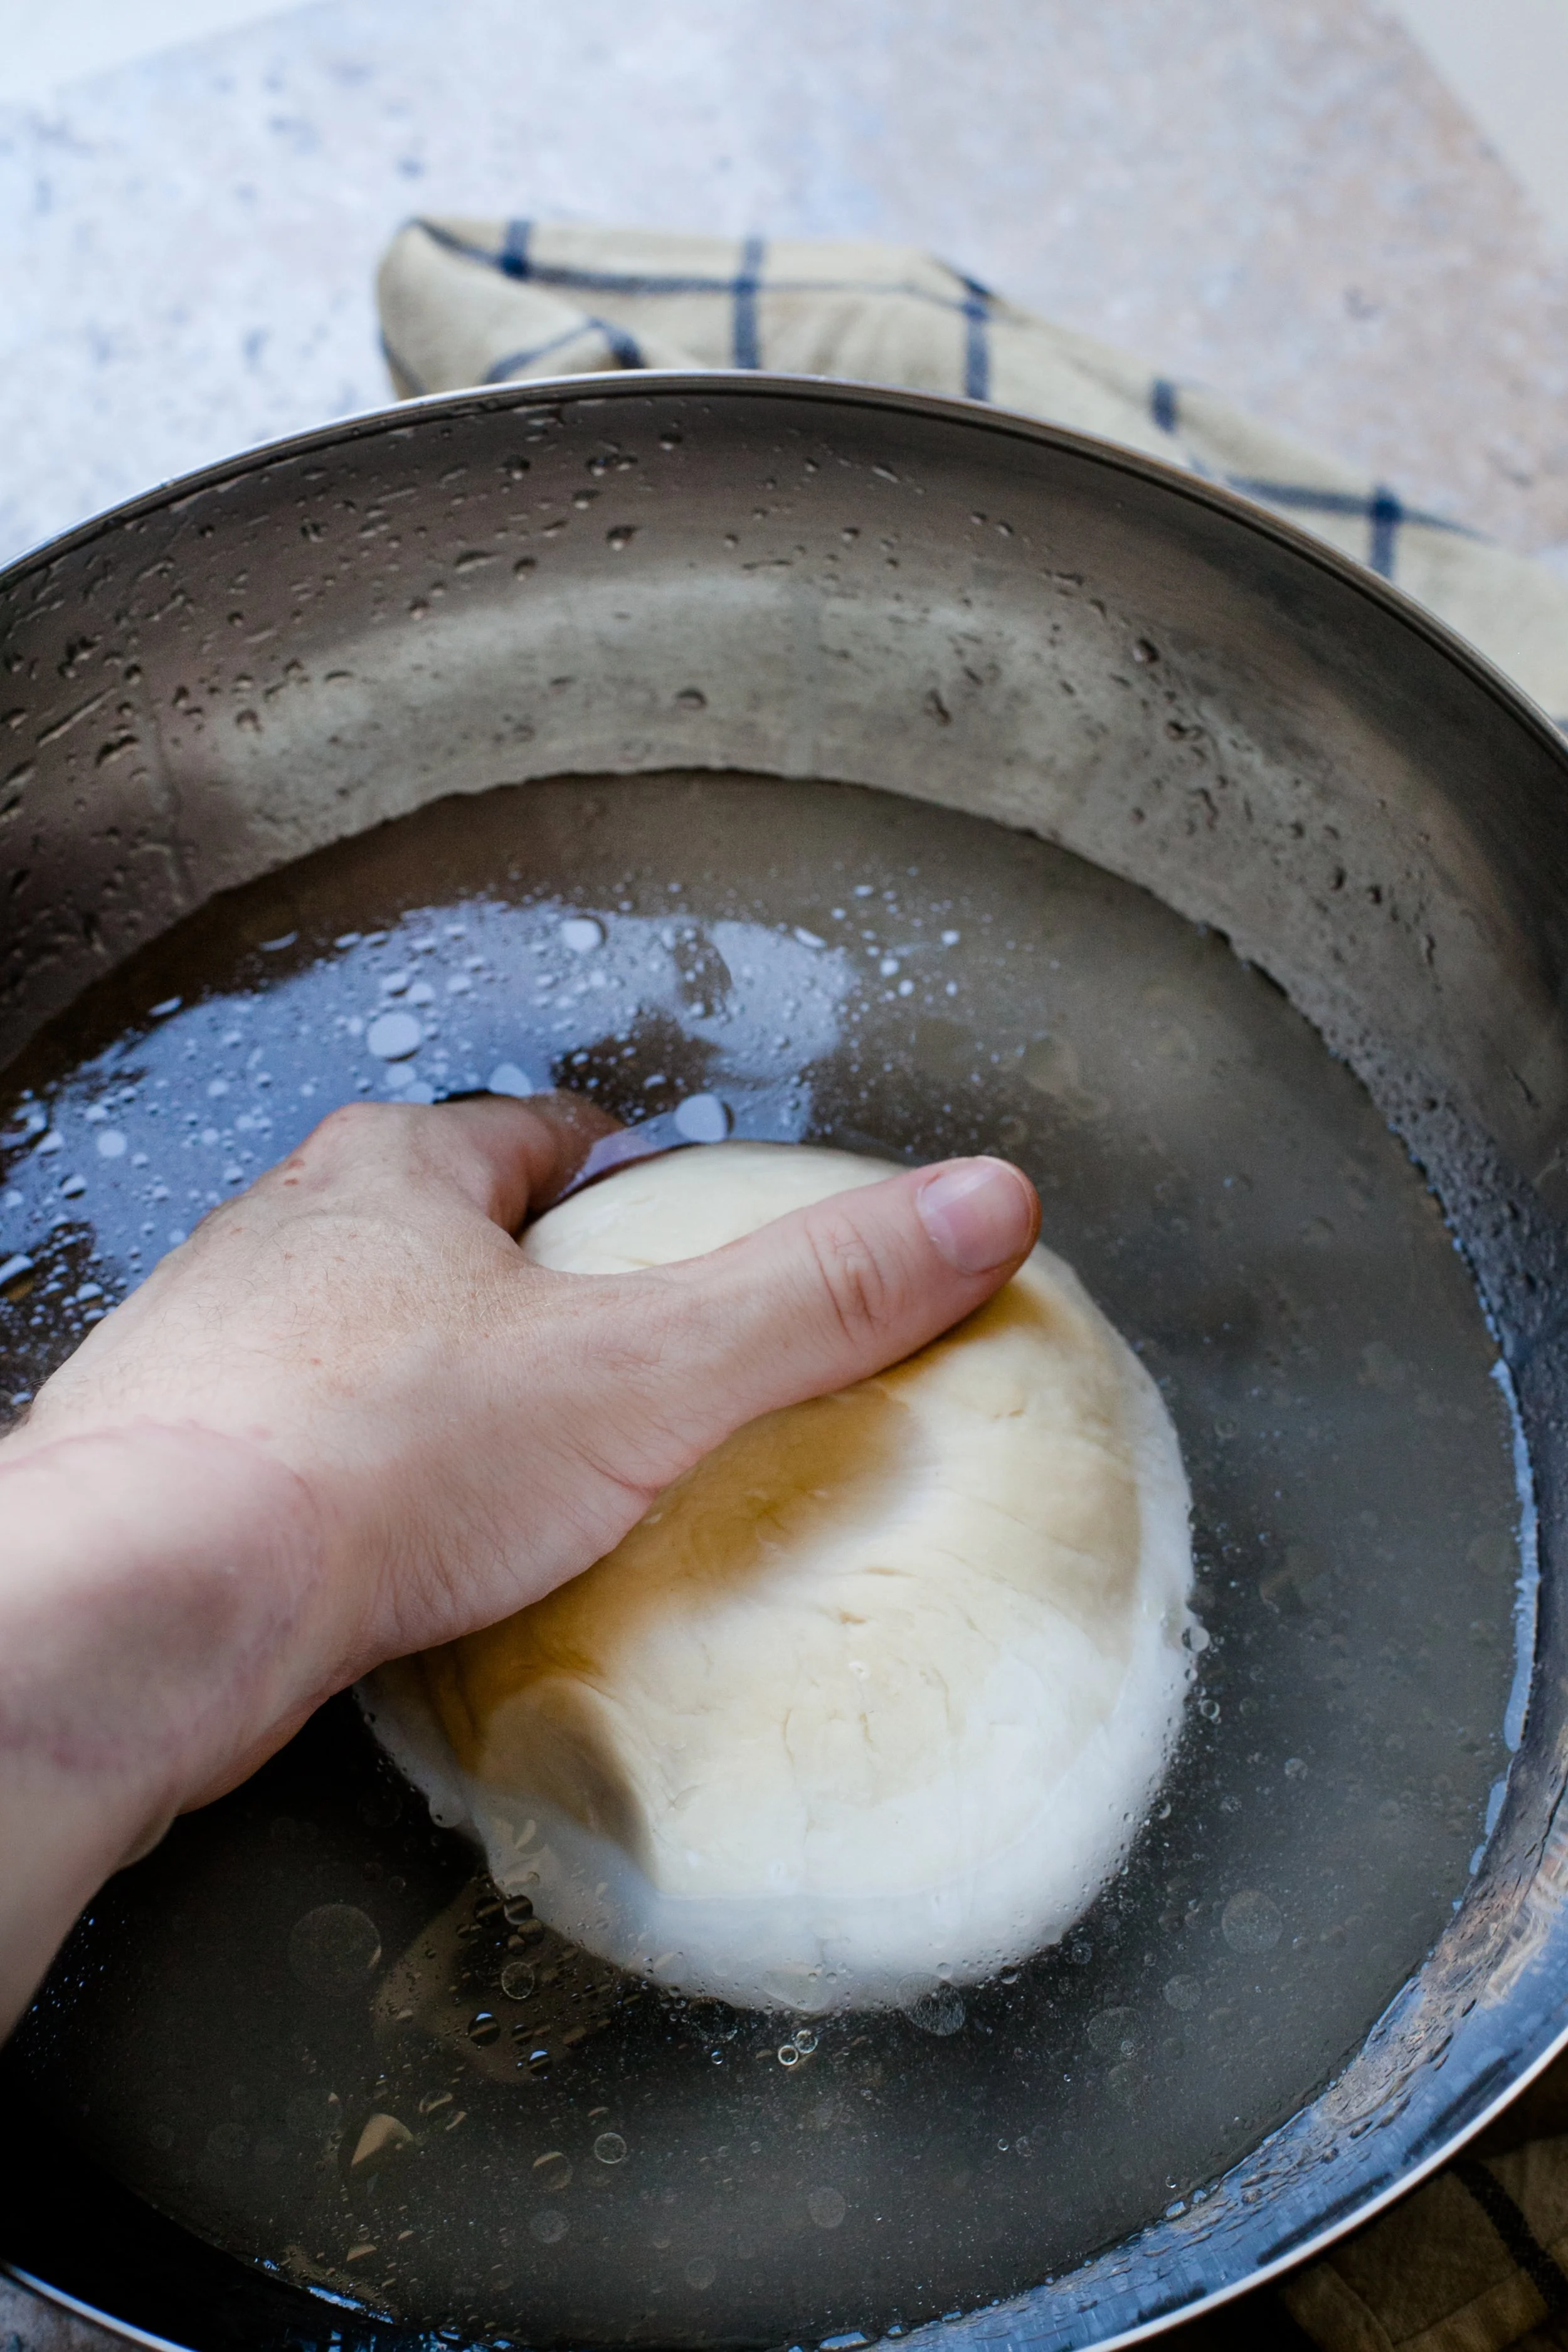
2. Wash the dough in water
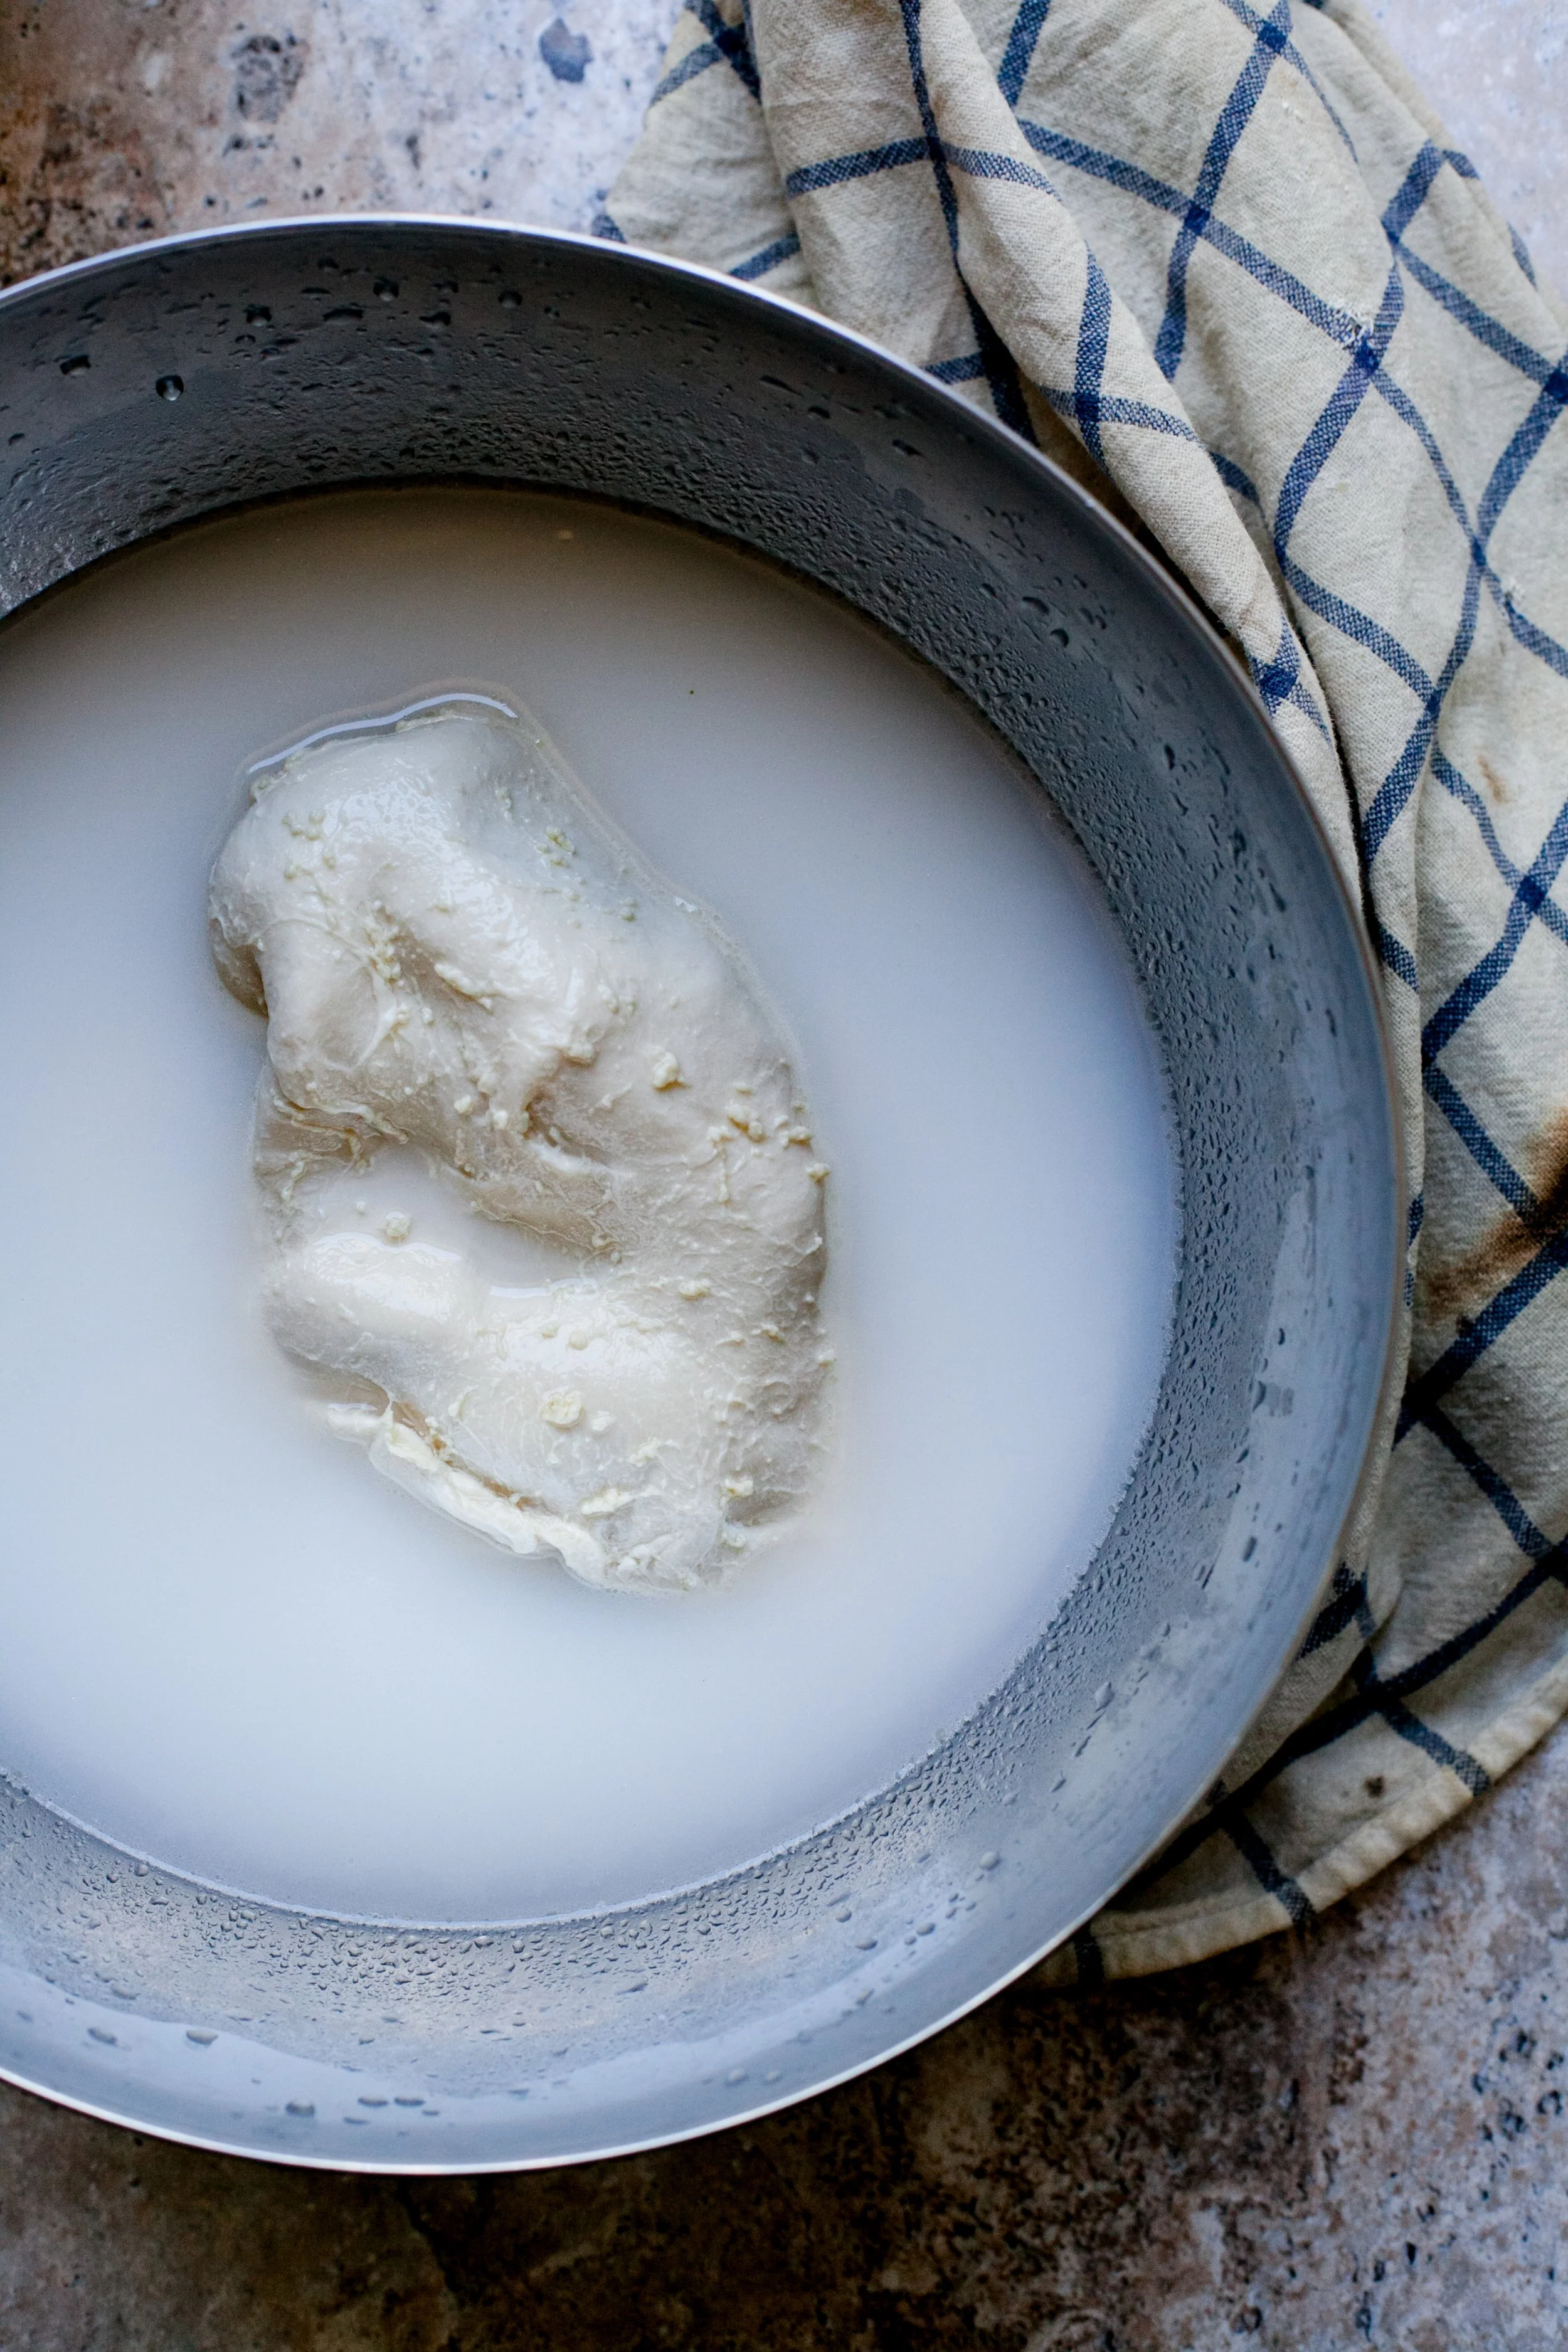
3. Save the cloudy water.
4. Eventually, you'll be left with pure gluten and starch water.
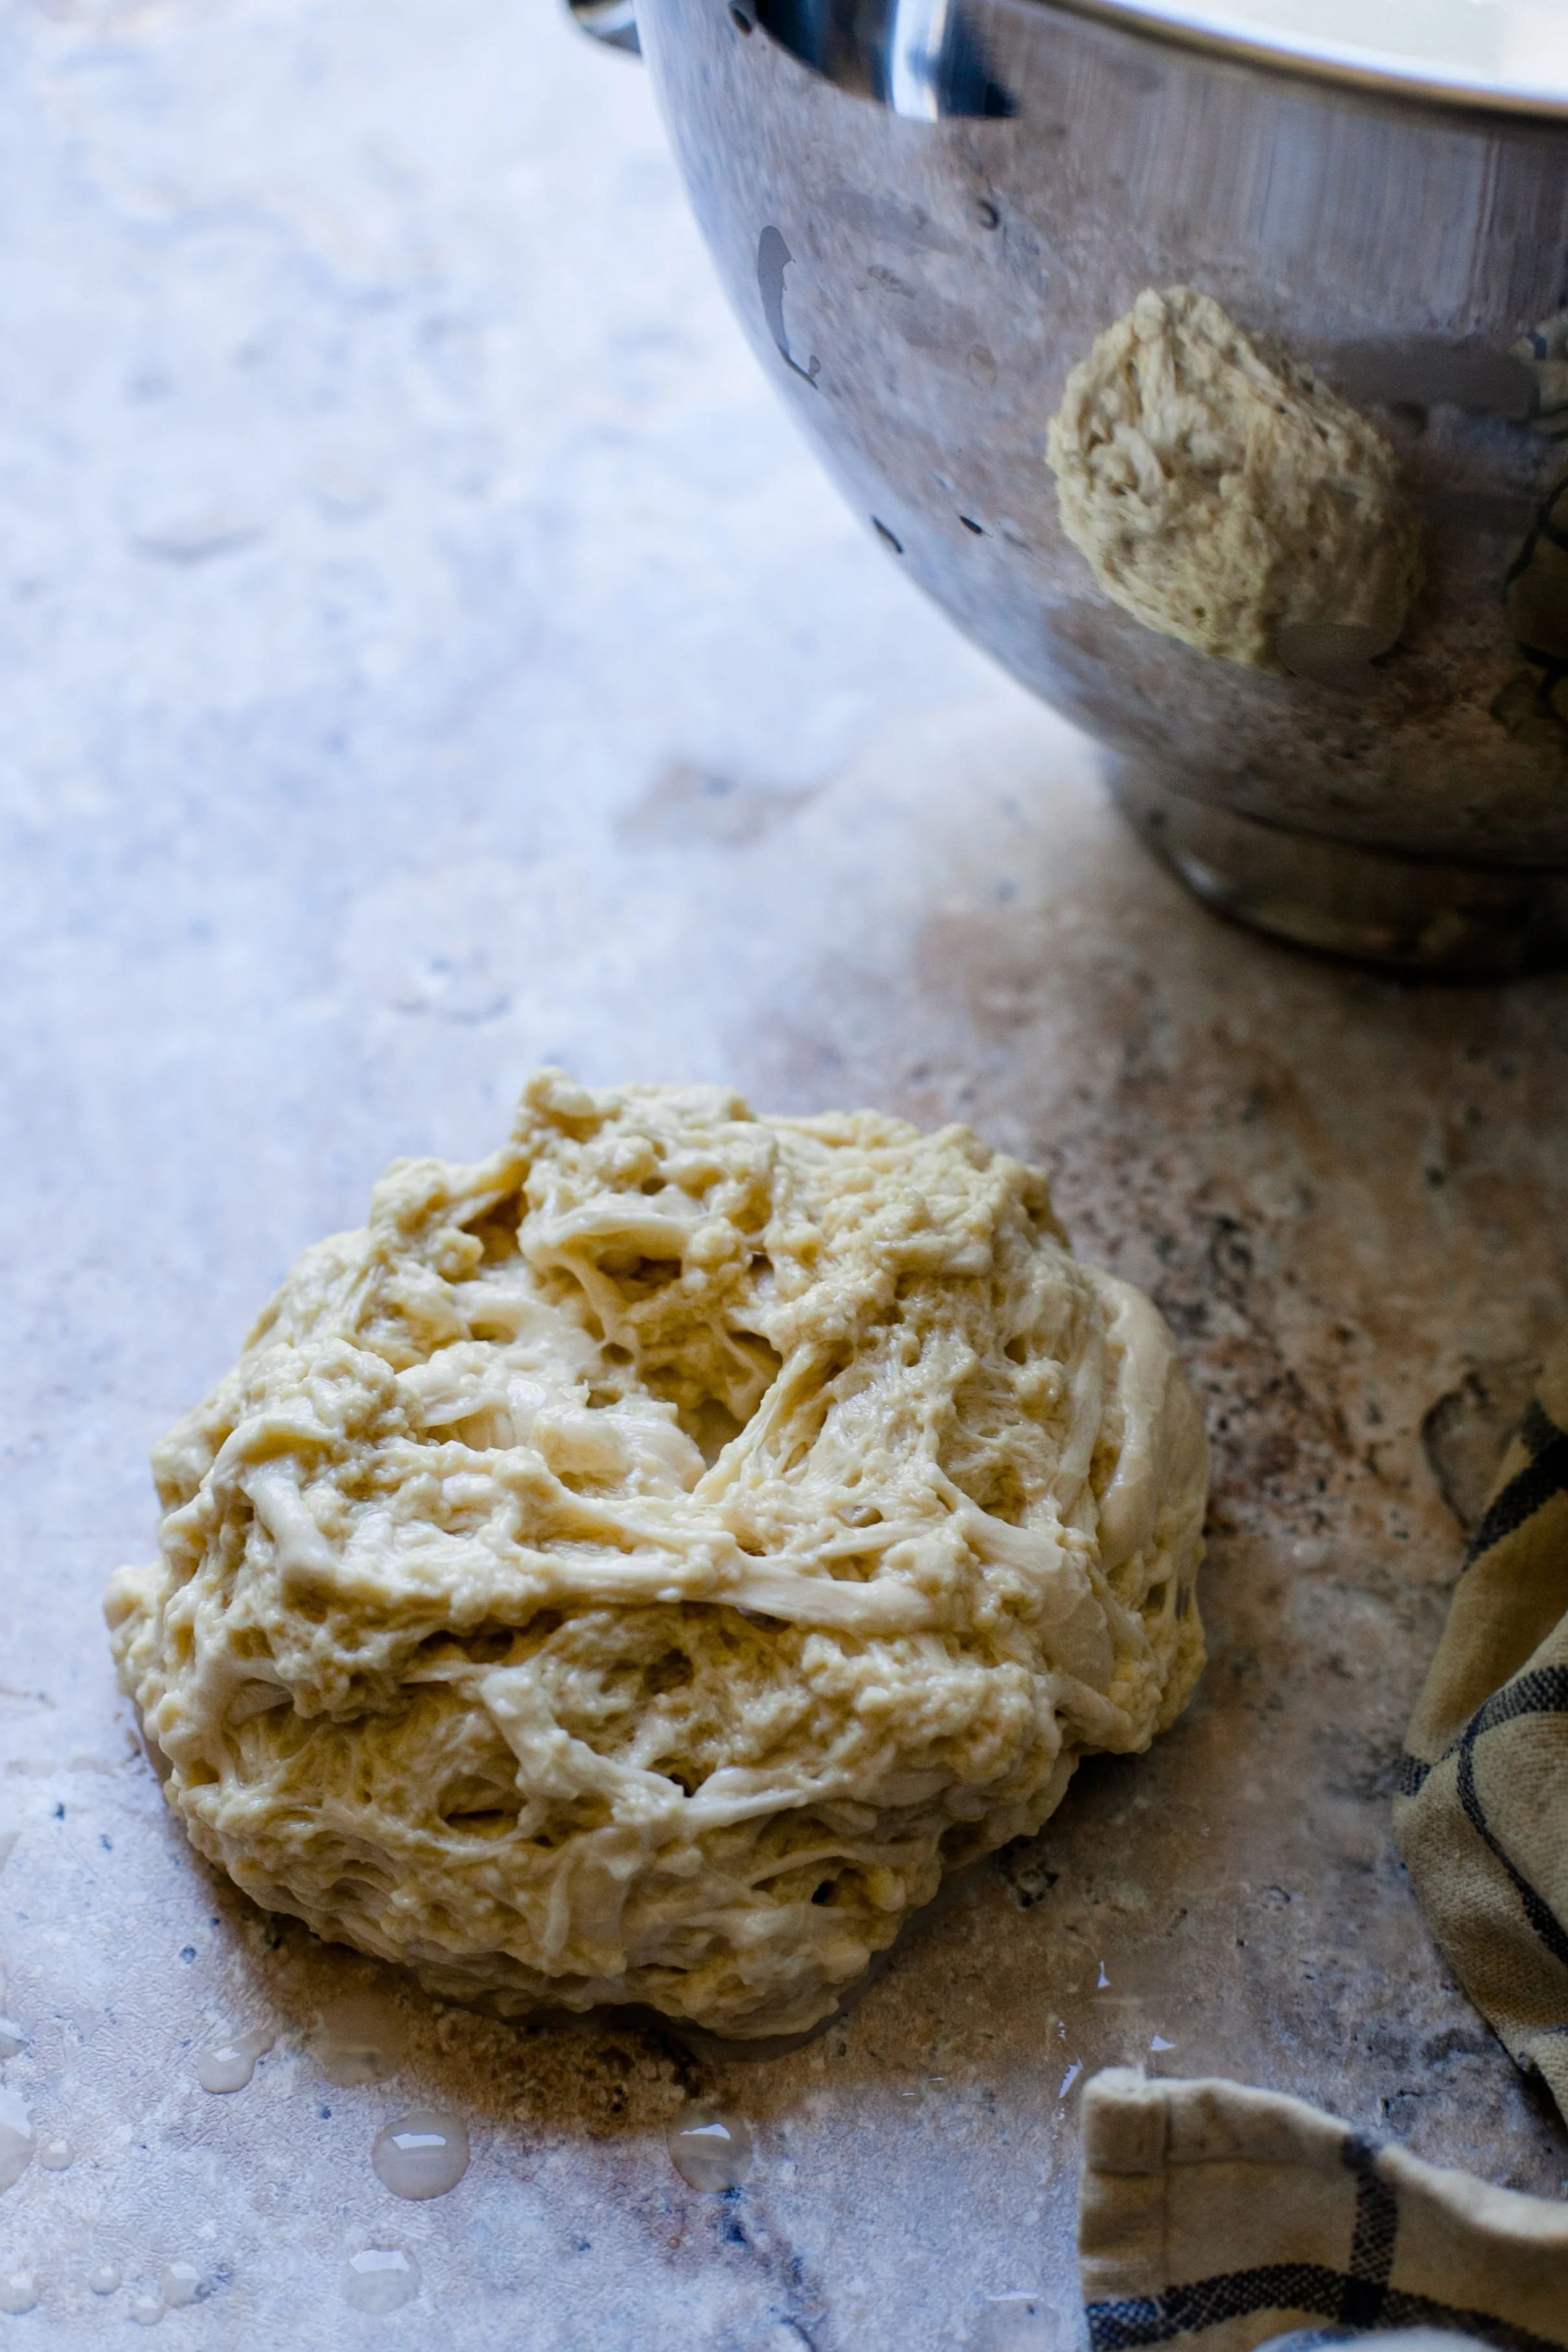
5. The pure gluten
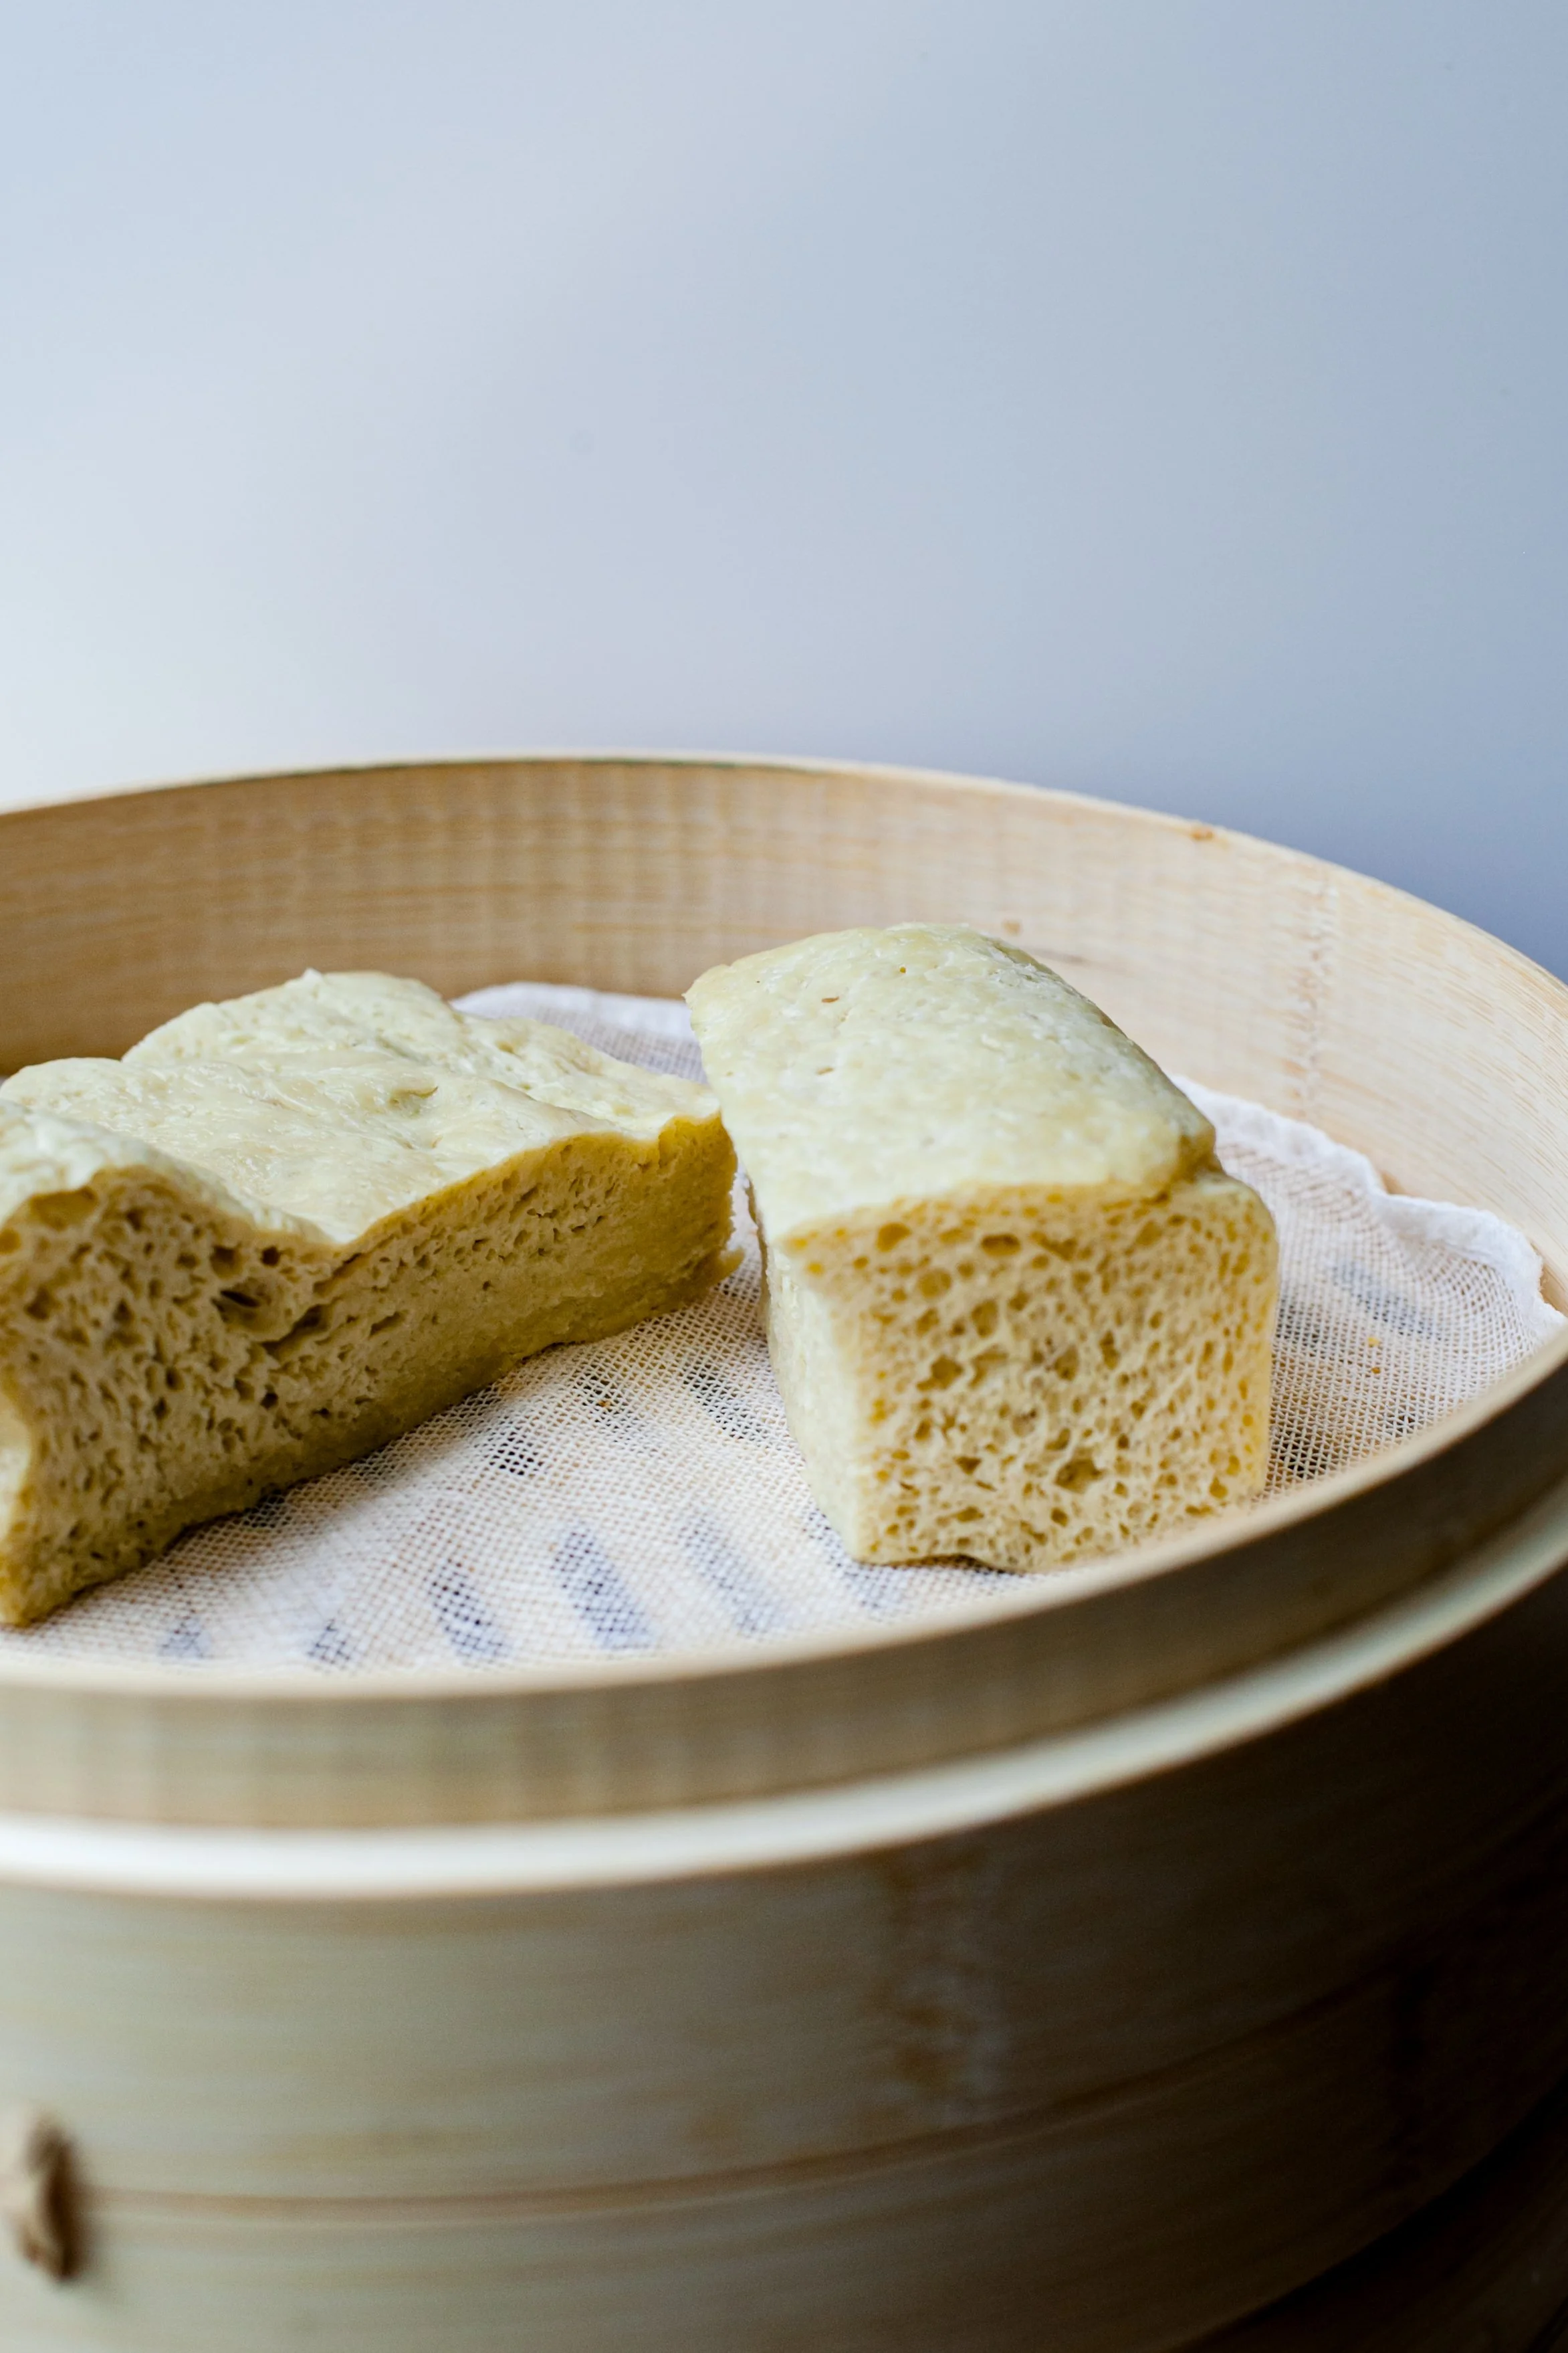
6. Wheat gluten will turn puffy after steaming
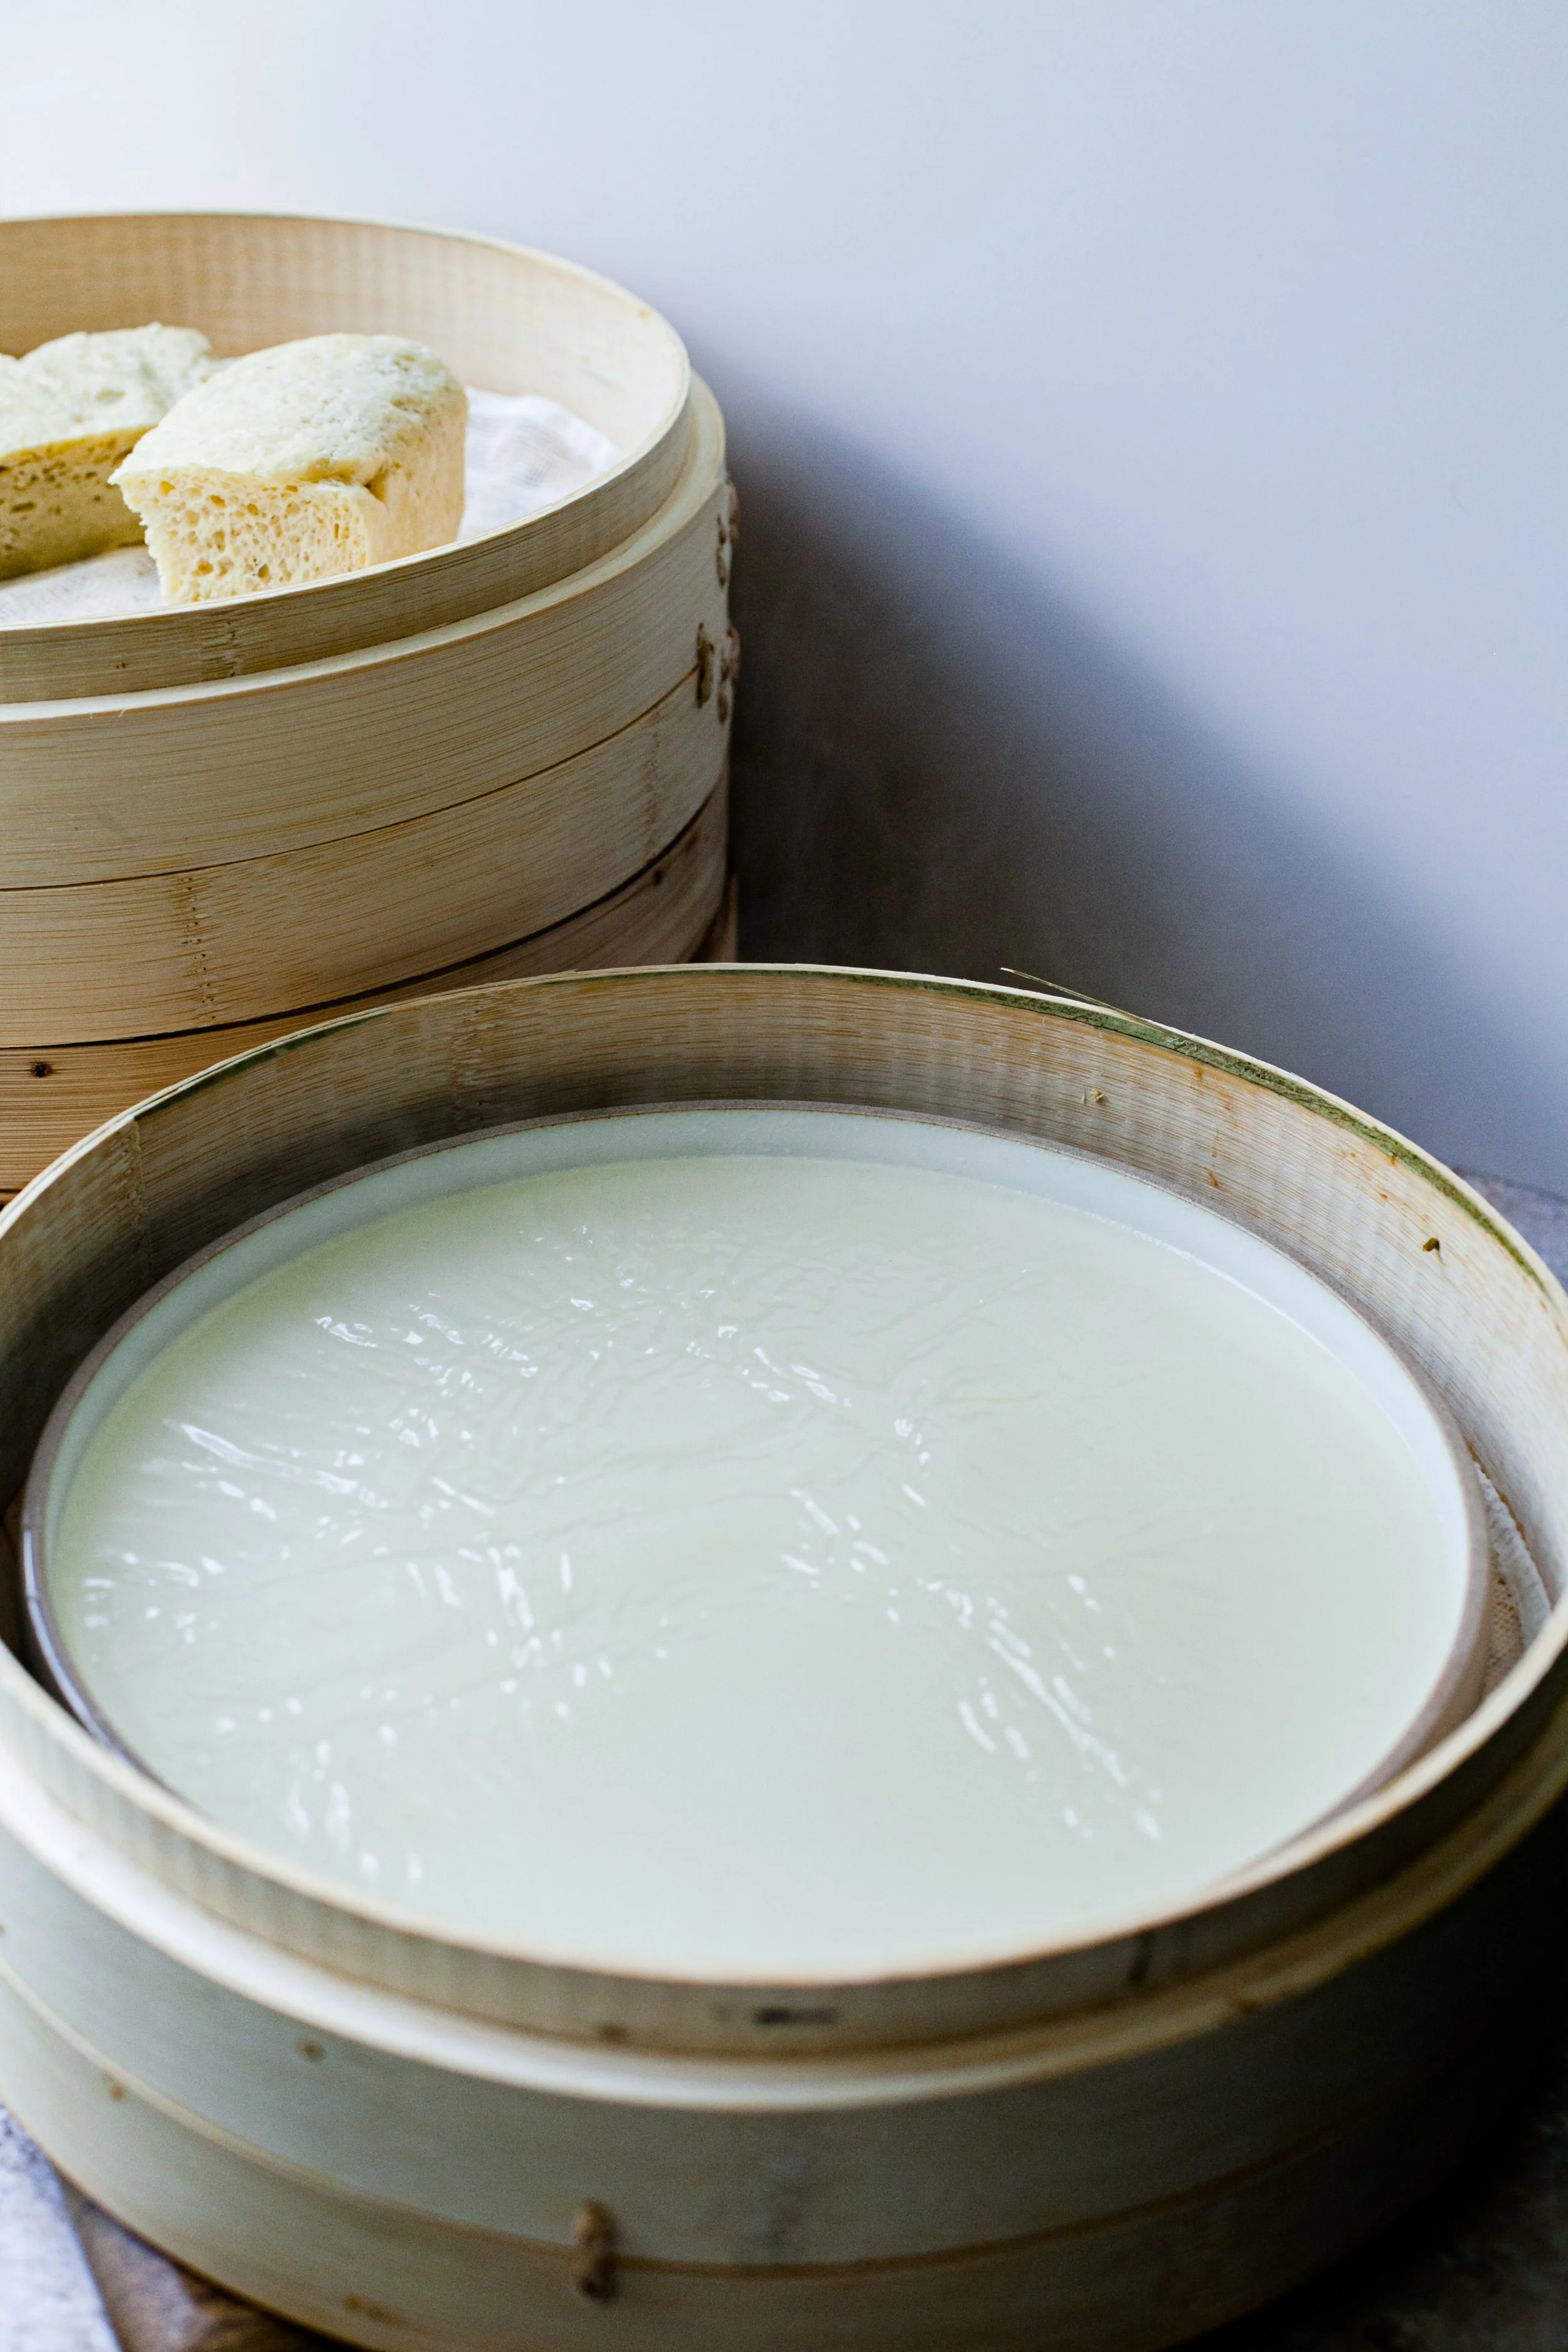
7. Steam the starch until it's

8. Cut the noodles into your preferred thickness
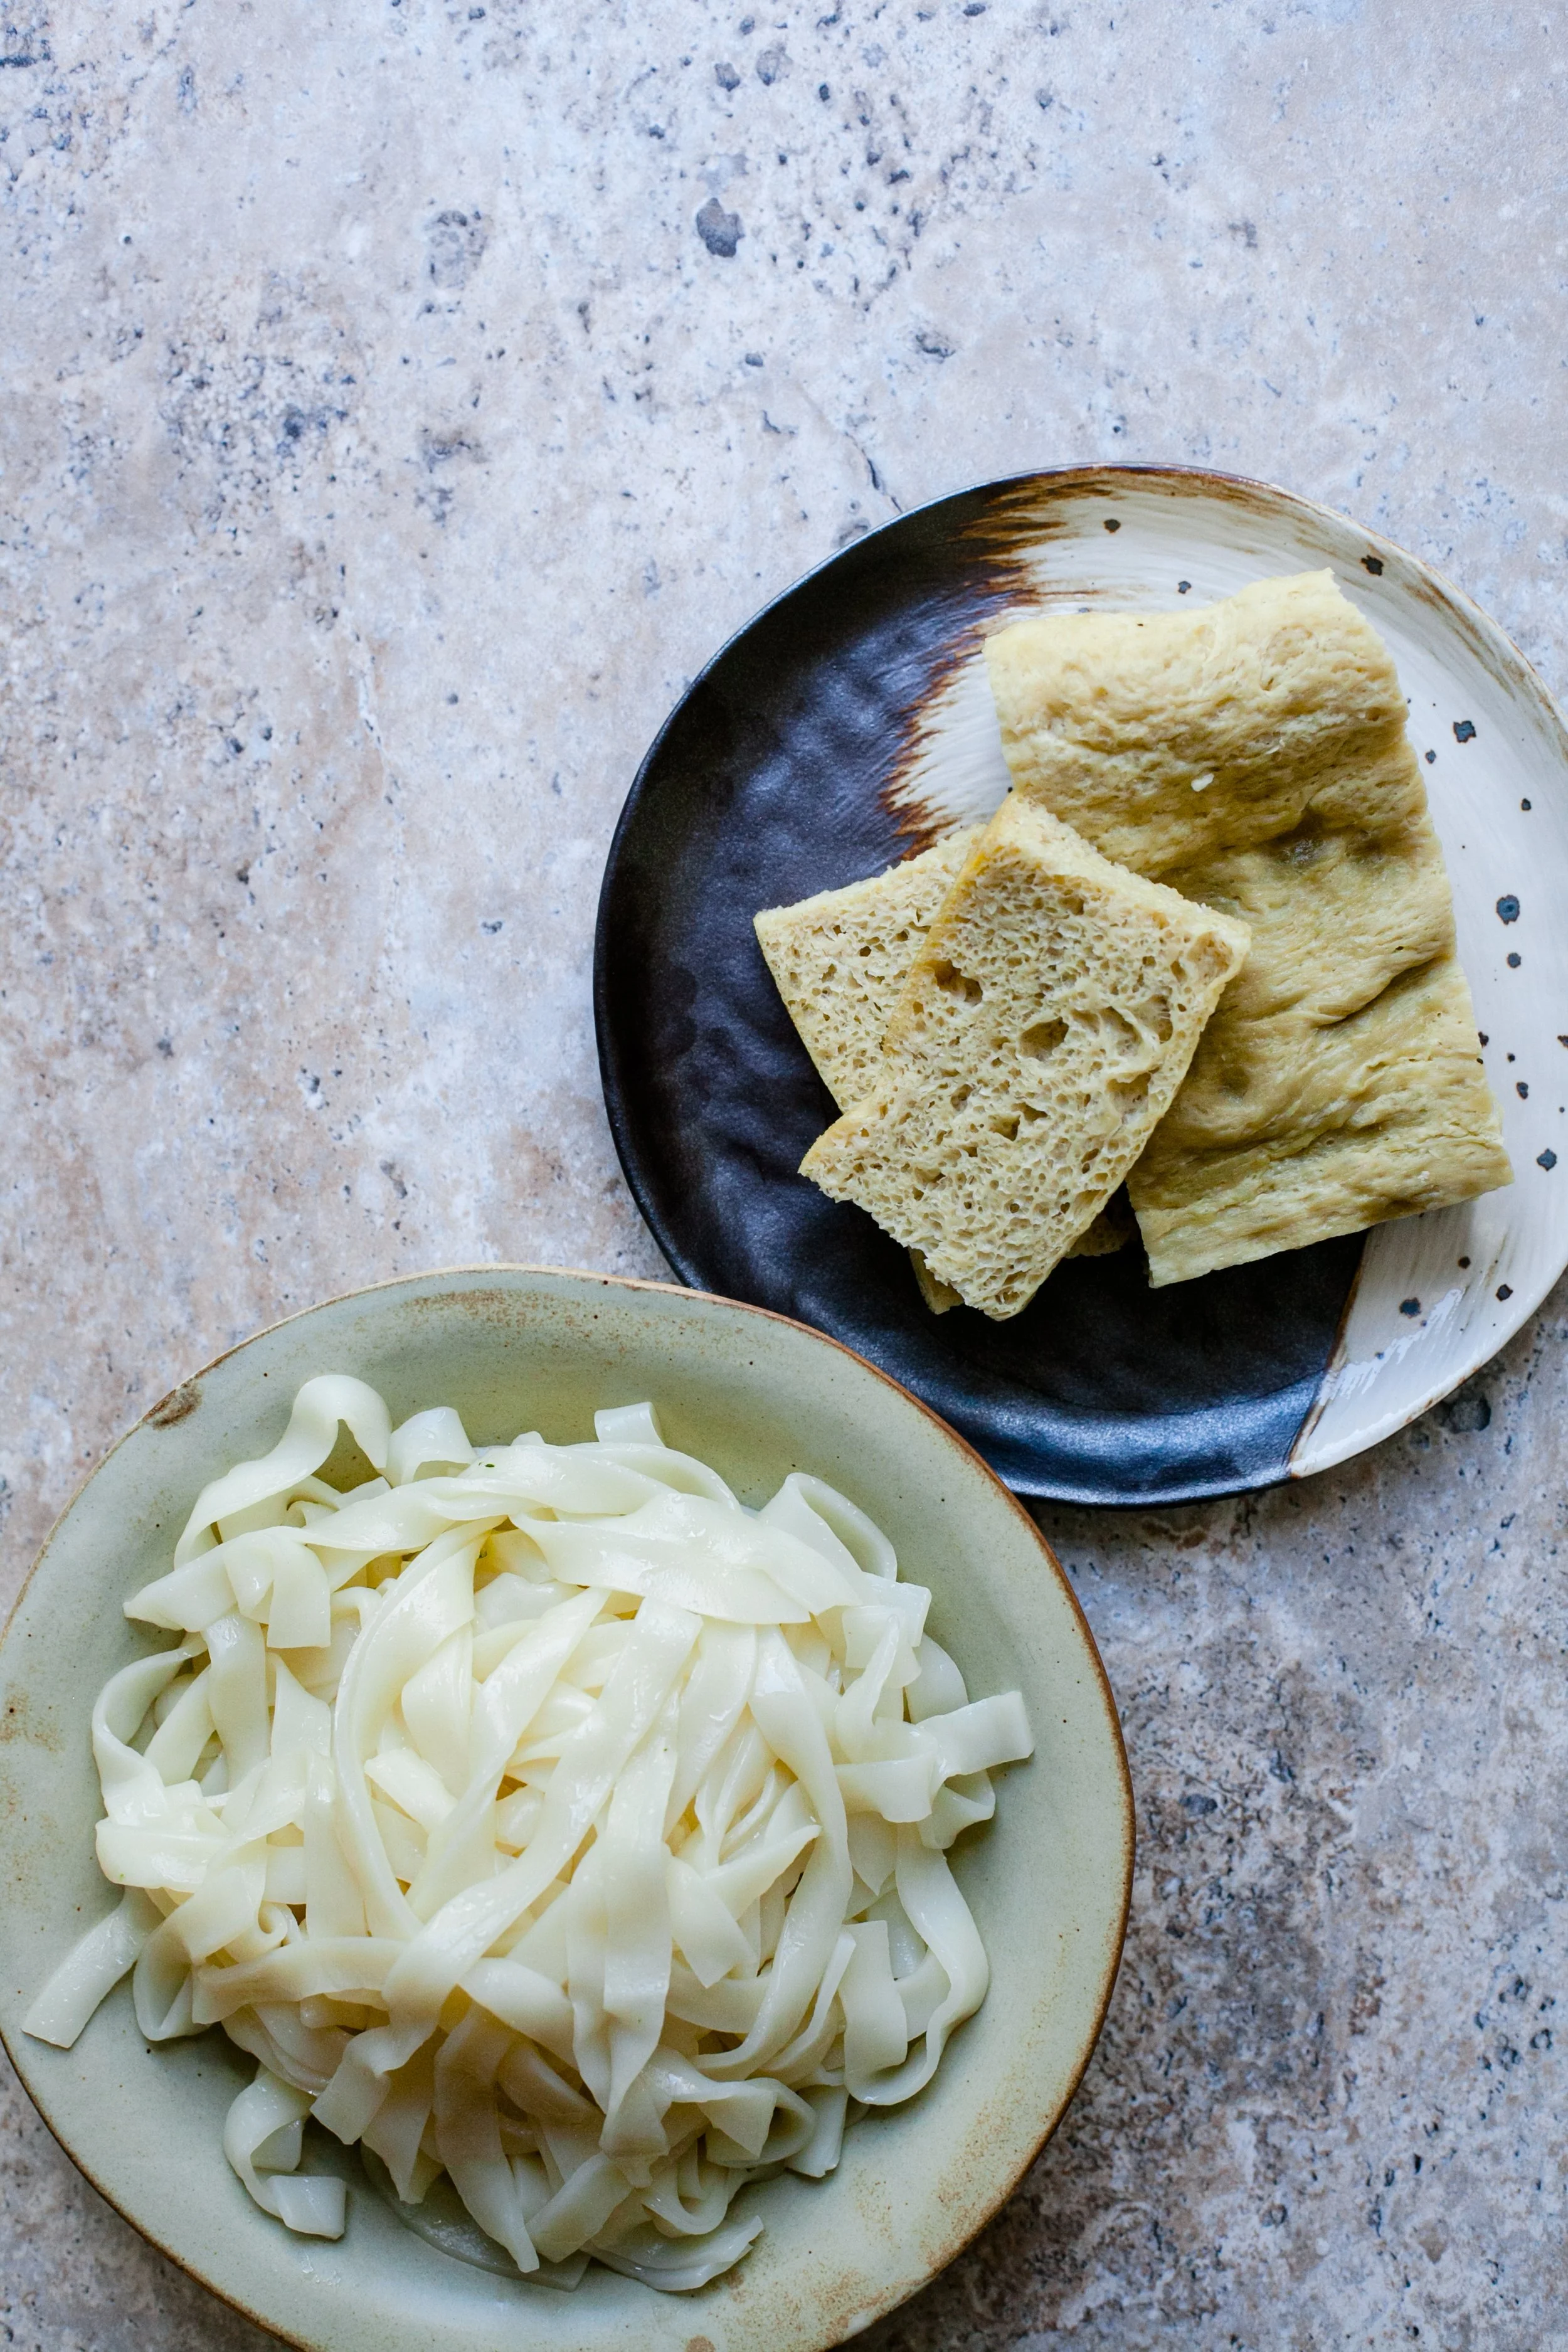
9. Liangpi, cut thicker, and wheat gluten